DTF (Direct to Film) Printing – Step by Step Process

DTF (Direct to Film) Printing – Step by Step Process

pictures of DTF printed shirts

The DTF printing process is pretty simple. 

You print on a kind of Film – like a transparency film if you’re old enough – using a full color inkjet printer.
If you’re using a simple home-style inkjet printer take out the paper in the tray and replace it with the “PET” film.
So FIRST you’ll need to create your graphic and get ready to print. There are really no graphical requirements to create a DTF print, but like anything it’s going to be garbage in, garbage out.
Then..

DTF Printing Process | Making the DTF Transfer

Step 1: Print on the Film

Insert the PET film in the printer trays.

Hit Print.

The inkjet printer will print “direct to film”, transferring the image onto your PET film.

Be careful not to smudge the print when you remove it from the tray!

Step 2: Spread the Powder

This step is the application of hot-melt powder on the film that has the printed image on it.

You have to apply the powder while the print is still wet!

Make sure and spread the powder evenly.

Normally you would keep a tray next to the printer, sprinkle the power onto the web print, then seasaw back and forth until it covers the wet ink. Then CAREFULLY shake off the excess.

Alternately, one can use automated shakers available for busier custom t-shirt shops.

Step 3: Melt the Powder

Just like the description indicates, your next step is to actually melt the powder in place.

The most common way to do this is just to put the direct to film DTF transfer in an oven for about 2 minutes.

Alternatively, if you’re already in the custom t-shirt business doing DTG or vinyl or white toner printer transfers you can use your heat press. Just make sure you are hovering and not applying any pressure. Or that the top of the press isn’t in contact with the transfer at all.

There are no times and temperatures for curing DTF transfers here on purpose. It’s always best to check with the manufacturer!

Step 4: Pre-Pressing the T-Shirt

It doesn’t have to be a t-shirt of course. But whatever you’re going to apply your DTF transfer to should be completely smooth. Any wrinkles will show up in the print!

And maybe even more importantly it will completely dry the material. You’d be surprised how much moisture fabric can absorb from humidity in the air, and that would affect print quality.

DTF Printing Process | Making the Custom T-Shirt

2 color dtf printed shirtStep 5: Applying the DTF Transfer

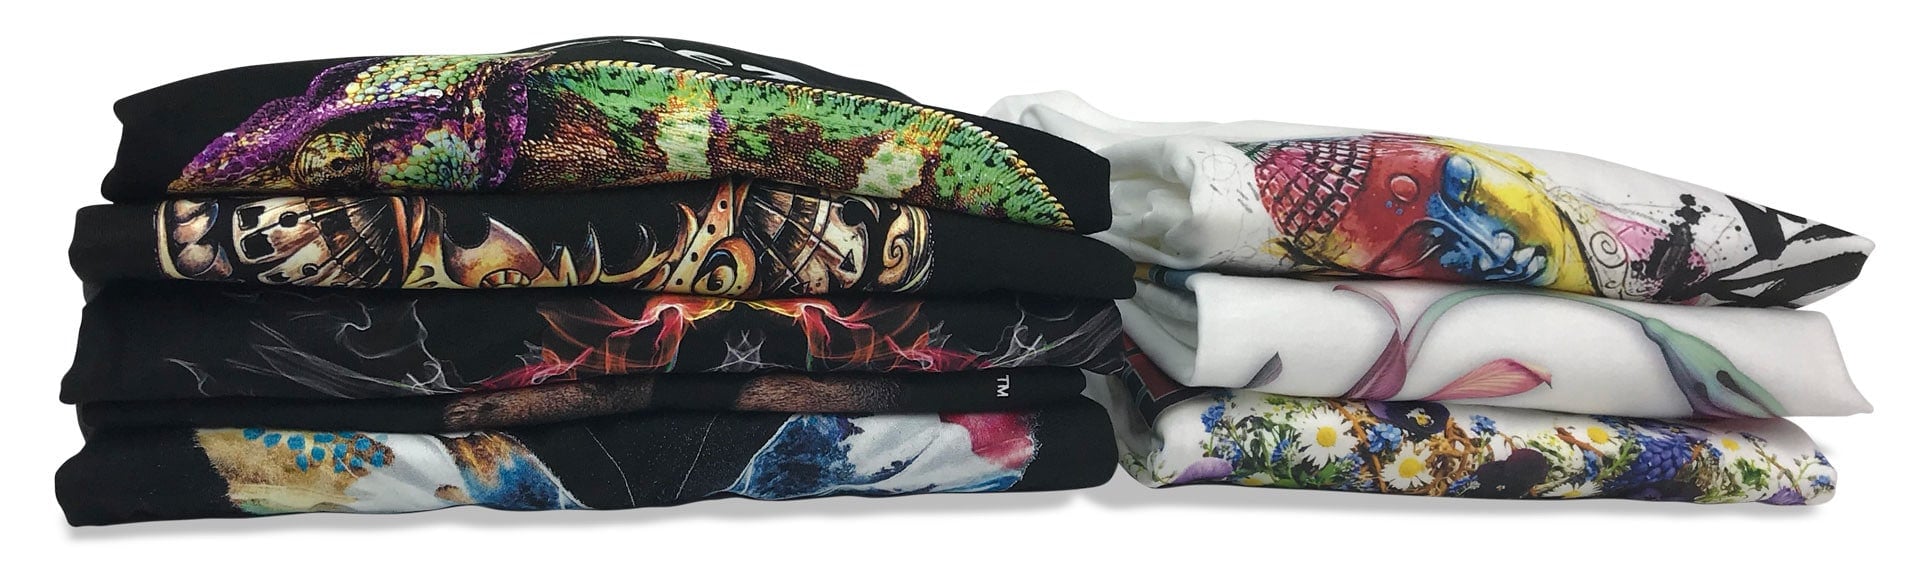
Once you’ve made a direct to film transfer you do NOT need to use it right away. Like most other kinds of transfers, they store well. That’s why so many small businesses focus on just selling the transfers themselves!  If your wondering which DTF printer to buy? check out the link.

The PET film with the image and the melted powder is placed on the pre-pressed material in the heat press. You’ll then heat press the transfer onto the shirt just like you would any other, following the current manufacturer’s instructions of course.

Unlike throwing a screen printed shirt into a tunnel dryer, this process is usually recommended to take less than :30.

Step 6: Peel DTF Transfer

DTF uses a COLD PEEL. 100% of the time.

So after heat pressing onto a shirt, set it aside until the fabric and transfer are completely cooled off.

If you are doing a run of shirts you can just press them all, one after the other, and start peeling when they are all cooled off.

The hot-melt as it cools down acts as a binder that bind the colored pigment in the inks with the fibers  of the fabric.

Once the film is cooled, peel off the transfer and leave the required design behind!

Step 7: Direct to Film Finishing Press

This is an optional step, but you should definitely do it on every garment application.

Like with white toner printer transfers, DTF require that final press to really cement the longevity of the printer. It improves wash “fastness” by leaps and bounds.

Normally, you’re just investing about 10 to 15 more second for this final step.

DTF (direct to film) doesn’t have the same limitations of sublimation – which can’t be applied to cotton – or DTG – which you can’t print onto dark polyesters.

It produces a pretty amazing transfer. You can apply it to almost any fabric!

What is Direct to Film, or DTF?

In the end, you can think of this as a combination of direct to garment, or inkjet printing, and transfer printing like sublimation.

Or, as a sublimation style transfer print, but with that extra step of adding the “melt-powder” so the transfer can be applied to dark polyester, cotton and more.

Additional Direct to Film Transfer Printing Resources